Novoflex Minipod
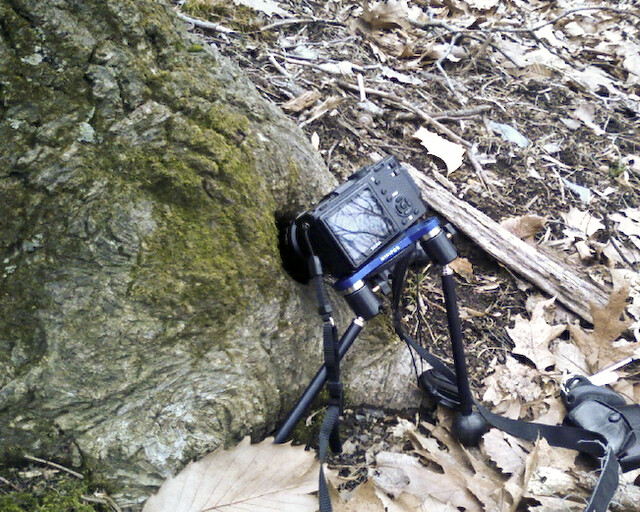
novoflex minipod aiming a sigma dp2 into a tree hole.
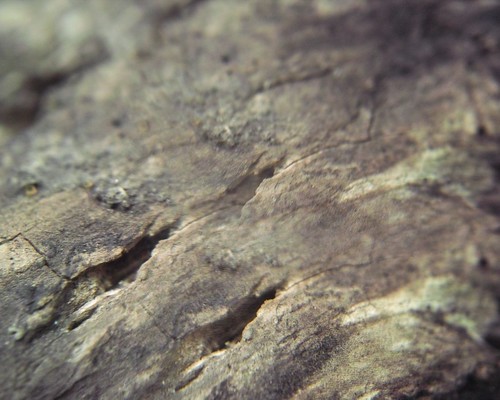
I try to remain as minimalist with my photographic equipment as possible. I loathe tripods, and use them sparingly. One of my go-to bits of gear, if I need a little bit of support, is the Novoflex Minipod. Generally, I just use it without a head, although sometimes I throw on a lightweight macro rail if I’m doing macro work with my Sigma DP2. Above, my DP2 is mounted on the bare Novoflex, with a +4 diopter attachment, pointed into a hole in the base of a tree for a 15 second exposure. The resulting image:
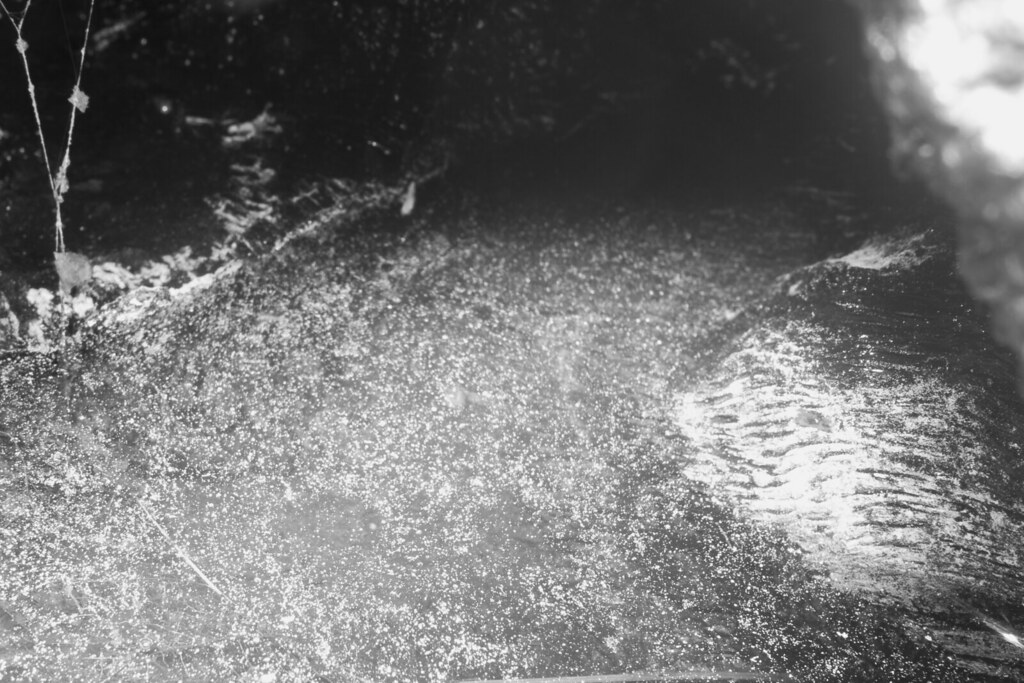
scene inside a tree. sigma dp2, 15″ exposure
While I originally bought the Novoflex for macro shooting my DP2 in the woods, it has found a lot of use outside of this. Despite its small size, Novoflex rates it to support up to 22 pounds. Indeed, it has seen plenty of use with my medium format cameras, and I’ve never really felt like I’m testing it. Even on lightweight duty, it works wonderfully in situations where weaker tabletop tripods would simply not be steady enough, like the three-shots-with-three-different-filters approach of trichrome. One of my favorite uses, however, has been getting close to the water while keeping my M645 dry…
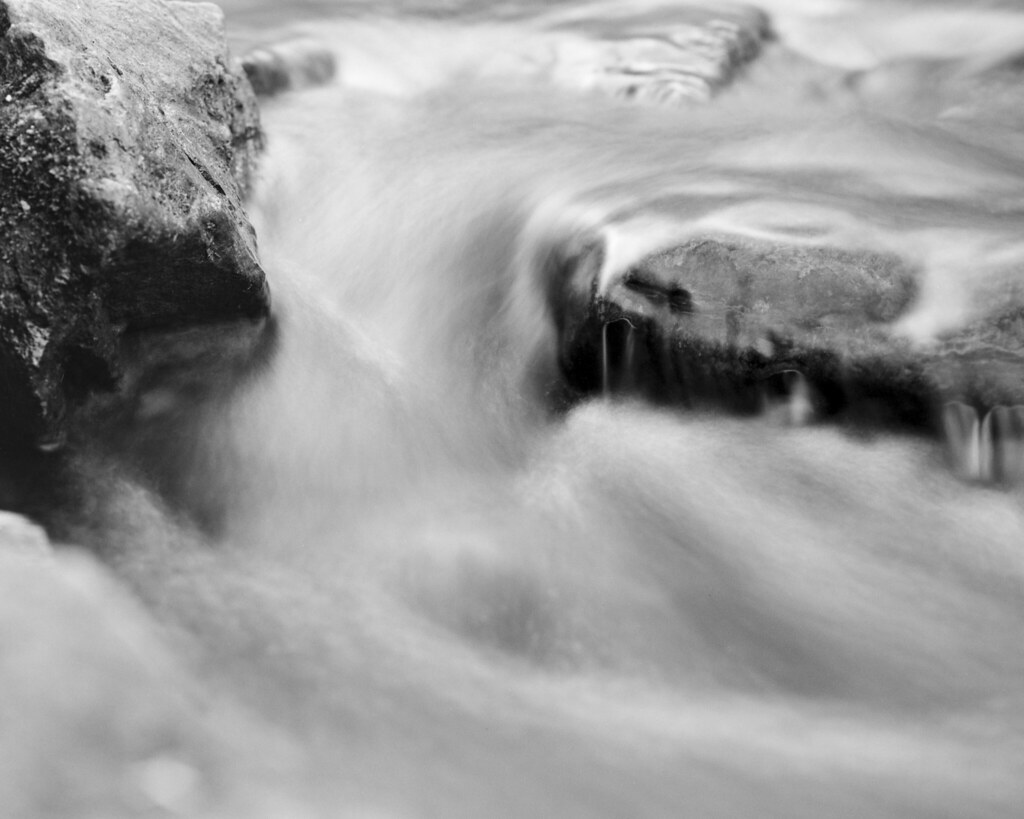
cunningham falls state park, mamiya m645 1000s, 80/4 macro, efke 25
…a task that would be difficult to do with such closeness and intimacy using any other camera support. General usage of the tripod is simple: one large wheel attaches a head or camera body, each leg adjusts individually using twist-locks, and each leg’s ball joint has indents for 30º, 60º, and 90º (full range). Legs hold tight in general usage, but too much fiddling can result in inadvertently putting too much weight on the tripod, causing legs to adjust in frustrating ways. Keeping careful and mindful keeps this to a minimum, and the tripod is generally quick to use. Unfortunately, this does all come at a price — online vendors in the US charge around $200, and a set of extension legs will run another $60. I have no experience with the extension legs, so I can’t speak to their stability. All in all though, if you’re looking for a best-in-class small tripod, the Novoflex can’t be beat.
Photographic Toy as Photographic Tool – 3R
Note: this article originally appeared on http://brhefele.brainaxle.com.
There has long been a movement in photography in contrast to the Leica shooters who settle for nothing but the purest glass. These photographers instead opt to embrace the effects of the flaws present in toy cameras with their plastic lenses and light leaks. Some people even put toy camera lenses on their fancy DSLRs. Experimental photographers have long embraced expired film, and processing film improperly (warning, links contain some amount of film snobbery).
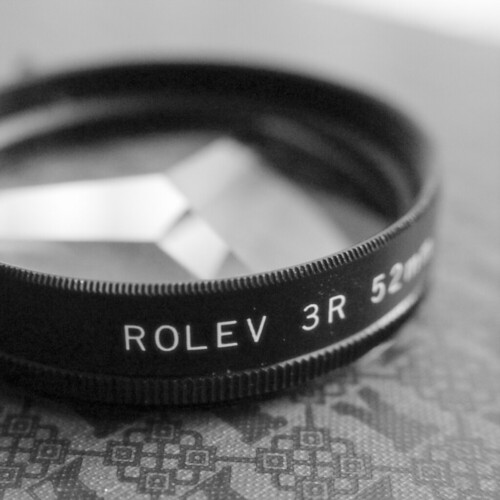
When I discovered that I had an old 3R filter (seen above) that would fit on my DP2 (I believe I found the filter years before in a discount filter bin, probably paid about a dollar for it), I initially just cast it aside as a stupid, gimmicky toy. A 3R filter essentially repeats part of an image three times over itself (a 5R five times, a 9R nine times, etc.). To demonstrate further…

…which is, in reality, a photo of one bottlecap. Aside from the obvious tripling of the bottlecap, there’s a subtler tripling of the woodgrain. The wood forming lines through the bottlecaps is even evident (with the contrast pushed rather far).
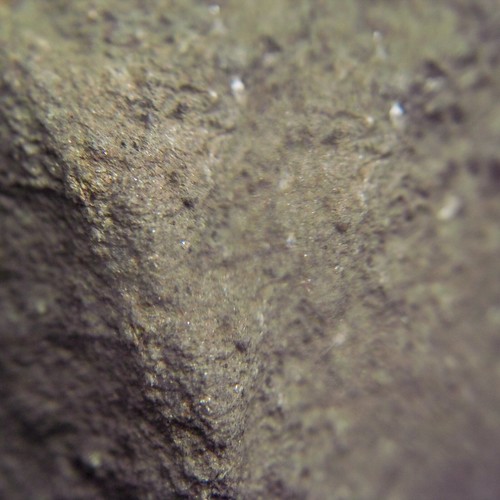
Eventually I realized that I could probably subvert the 3R and use it as an actual creative tool, albeit an unpredictable one, in the spirit of toy photography. My thought was that by tripling existing, expected patterns (much like the woodgrain above), an exciting illusion can present itself, a convincing fake of a too-perfect pattern. Photos which are, in a sense, simulacra of that which they really are. At first I was lazy about this, but more recently I have tried harder. Lining up the most obvious replications, and allowing the minor patterns to fall where they will. In the above shot, I was particularly careful to adjust the filter (and myself) so that the strong diagonal corner of the rock overlapped itself, leading to a pretty convincing photo at first glance. Only in the details is the repetition made more clear. The cheap optical element, as well as resolution loss due to the prismatic shape of the filter lends so some interesting color, strange blurring, and occasionally exaggerated chromatic aberrations, which help give these photos more of a typical ‘toy camera’ feel as well.
One last photo to point out two more things. First, something which is rather uniform in nature to begin with (such as water) can be pretty convincing without much extra help. Second, the notion of the filter leads to some very interesting shapes in the highlights (see the sparkles on the left), which should mean some interesting bokeh is possible (if you could make a reasonable composition which would also have the opportunity for nice bokeh spots – that would likely be the trick).
Fade to Black
Note: this article originally appeared on http://brhefele.brainaxle.com. Irregular formatting is due to stylesheet changes, and may eventually be corrected.
Remember when Polaroid stopped making Time Zero, and then they stopped making instant film altogether? And all of our SX-70s and Daylabs became useless? And then remember when some people undertook the impossible project of buying up a Polaroid factory and all the equipment, with the promise of making new film, calling it ‘The Impossible Project?‘ Well if you don’t remember, now you’re up to speed on what this is all about.
If I’m not mistaken, there have been two phases to The Impossible Project. The first was using old genuine Polaroid chemicals to make new films. The second, which just recently launched, uses new (for Polaroid at least) chemistries, resulting in Polaroids as we’ve never seen before. I recently burned through the last remaining Time Zero that I had, and decided to order two packs of Fade To Black, one of the films out of the first phase. I have today shot my first shot using this film. All of the following photos link to their respective flickr pages…
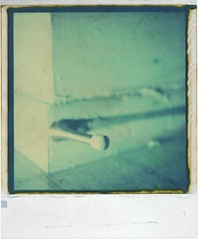 Fade To Black uses a curious chemistry which keeps on developing until, in about 24 hours, the whole frame has developed itself to total blackness. Unless the photographer intervenes! Seen here is the final product of my first shot – nothing more will happen to this photo. The manual gives two methods of intervention – dry & wet. The key is basically just getting the film the hell away from the chemicals. I chose to use the wet method – peeling the film off of the backing, washing all the nasties away, and ending up with a positive image on film.
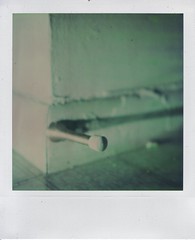 Seen here was the first moment when I looked at the film and thought, ‘aha! I have one complete version of a photo.’ But of course it’s never that easy, deciding when to terminate something which is constantly changing. So I kept the scalpel away, and scanned the image, then got back to watching. You can see that at this point, which was just a couple of minutes into developing, the end result (still on the backing foil) is pretty similar to how the final positive appears on a white back. It has enough dynamic range that you can really start to feel what’s white, what’s shadowy, and colors are tending toward cool, blues.
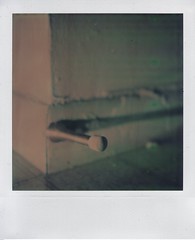 After a few minutes, my image was much darker already, and the colors had shifted rather dramatically as well. Highlights were warm, reddish, while shadows remained cool, tending almost toward green now. I think this may have been my favorite iteration of the three – the shadows were nice and deep, and although the highlights were a bit too dim, the cross-processed look to the colors made up for it. I gave it a couple more minutes before pulling out the scalpel and gutting the sheet. This was tricky, and messy, but it would have been far worse. Washing it was not bad, but drying was also tricky, as I’m not really set up to dry any sort of film anymore! I ended up hanging the wet film from my shower curtain rod using a jury-rigged paperclip/binder clip contraption.
All in all, I think my first experiment with Fade To Black was a success, and I look forward to my remaining 15 experiments. I plan to try pushing the exposure wheel over to white, and using a Flashbar to get some very strong highlights in the near future. I feel like I have a better understanding of the time involved with the film, the color characteristics, and the variation between the film sitting on its backing, and the bare film. I have to give Impossible Project the utmost respect for the work they’ve done thusfar, and I look forward to getting in on some of their new Polaroid packs as well (particularly, PX100).
