Polaroid SX-70
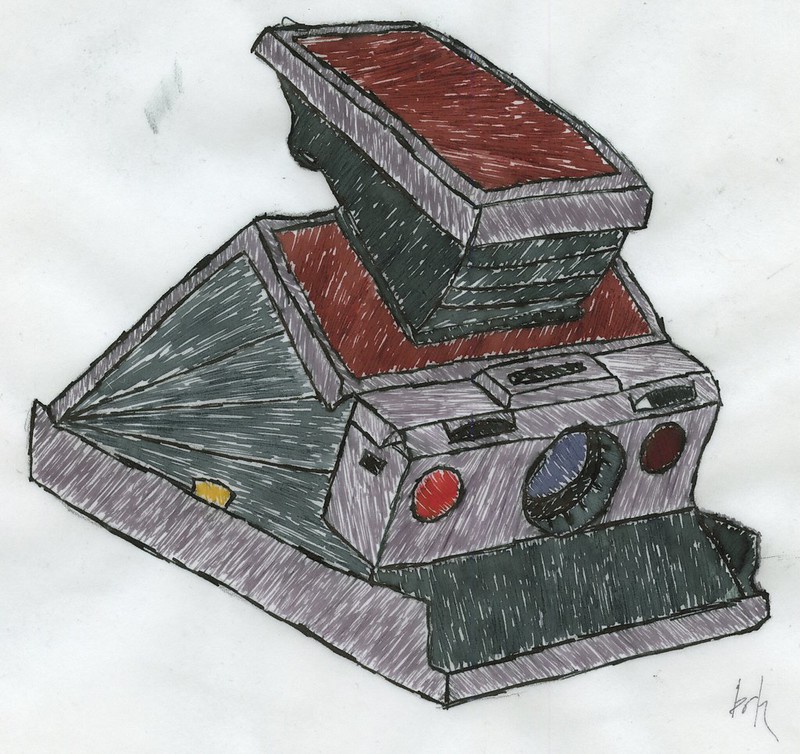
paying homage to the venerable sx-70 (click images to view on flickr)
The Polaroid SX-70 was a groundbreaking camera in 1972. Edwin Land had already impressed photographers with his film that didn’t require a trip to the photo lab. This was still a tedious process, however, requiring the photographer to time out development, stop it by carefully peeling apart the film, and probably get covered in chemicals in the process. The Land Cameras themselves were relatively compact folding rangefinders (or viewfinders, depending on the model), a trend that was losing favor in the rest of the photo world as SLRs became more accessible and popular. The SX-70, then, was impressive indeed – it retained the compact collapsible nature of earlier Land Cameras, but was a true SLR! And more impressive yet, it used a brand new integral film system which removed any chance of operator error during development, and kept the photographer’s hands clean.
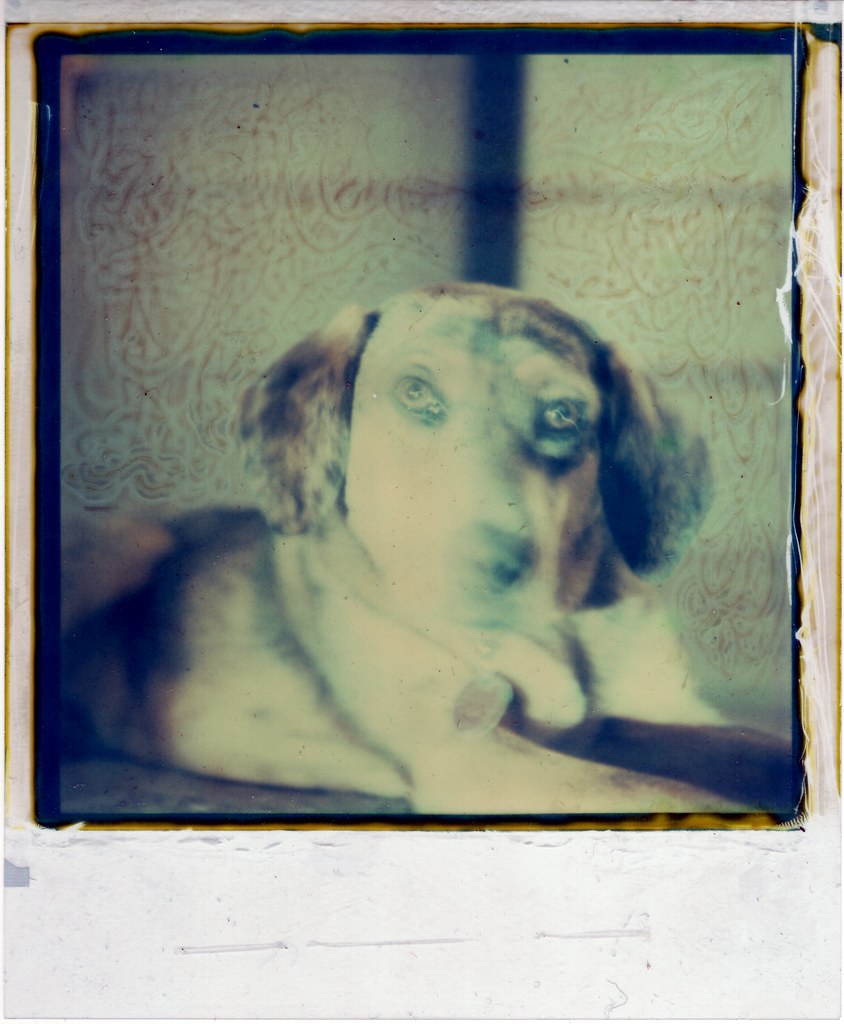
manipulating impossible project fade to black film
SX-70 film also had the interesting characteristic of an emulsion that could be physically manipulated to achieve painterly effects (see Kathleen Carr’s work, such as Polaroid Manipulations for good examples and instruction). This was great for artists, not so much for casual consumers, I suppose, and eventually with the immensely popular OneStep cameras came the less manipulable and more quickly developing Time Zero film. After that, there was no SX-70 film at all, and people took to crazy hacks to get 600 film in their SX-70s. After that, there was no Polaroid film at all.
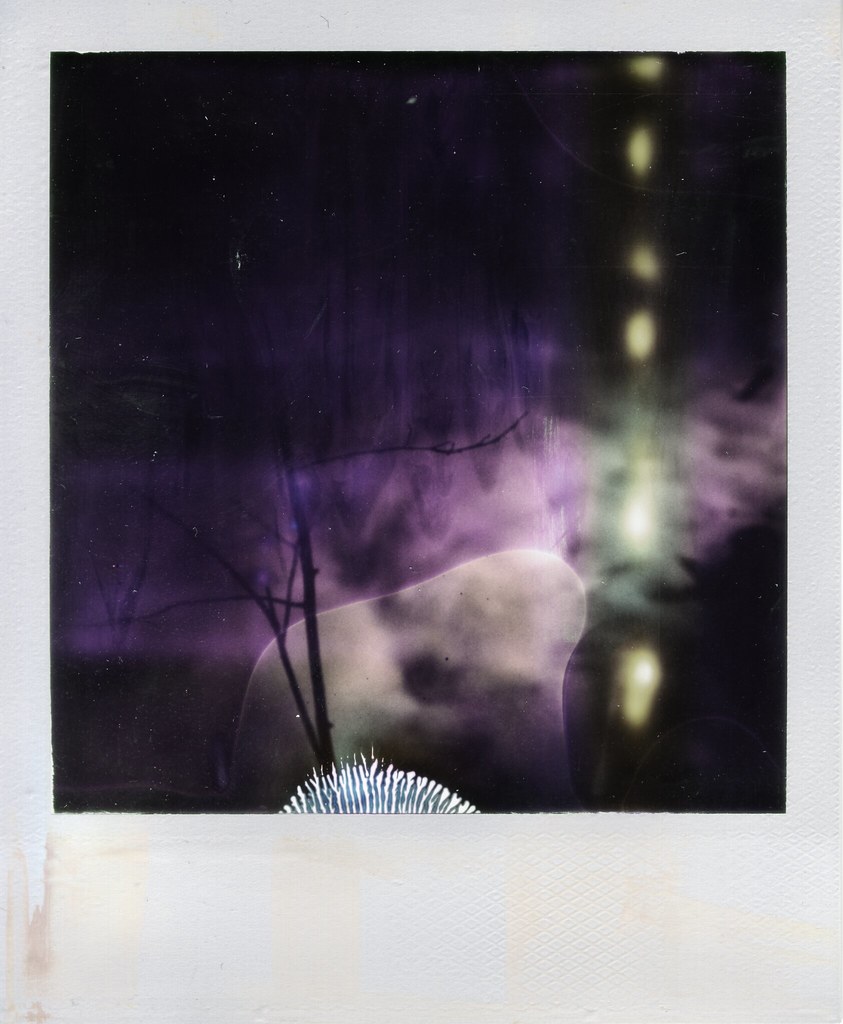
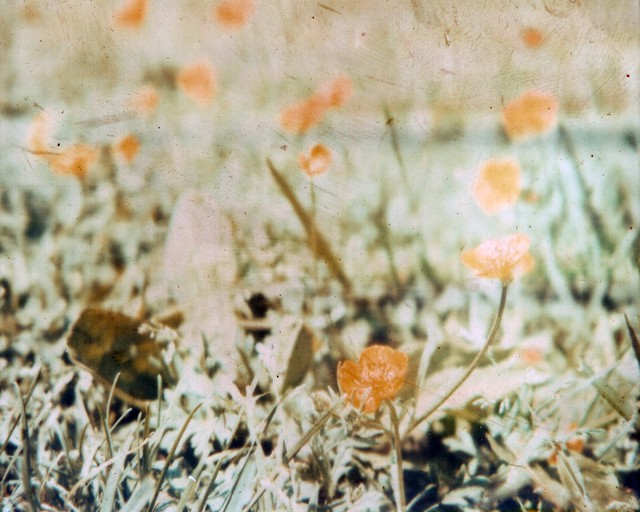
very expired time zero that i found in a model 3
Now, after all of that, we have The Impossible Project, a new era of Polaroid film in both SX-70 and 600 speeds (as well as other formats), and a return to the Polaroid as an artist’s tool. This is the main reason you buy an SX-70 today, because without the limited selection of film from Impossible, you have a funny looking paperweight. But if you’ve decided to go down the path of shooting Impossible integral film, you still have far more camera options than just the classic SX-70 folding SLRs. You can save a lot of money and get a OneStep or one of the many 600 models with single-element plastic lenses. But in my opinion (and I am not alone here), the folding SLR SX-70 is the definitive Polaroid camera.
Folding SX-70s (note: I refer to folding SX-70s, but this info holds true to the later folding 680 and 690 SLRs, which are essentially the same cameras, meant to handle 600 film) were the last mass-market Polaroids with really decent optics. The lenses (116mm/8) are four element designs, made of coated glass. Later, lesser Polaroids generally use plastic optics, of three-, two-, and even single-element designs.
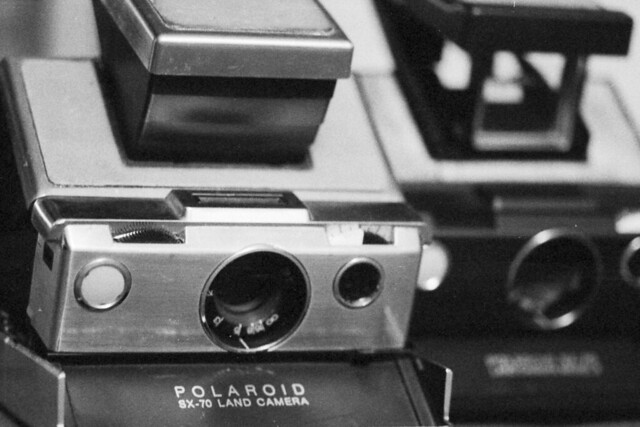
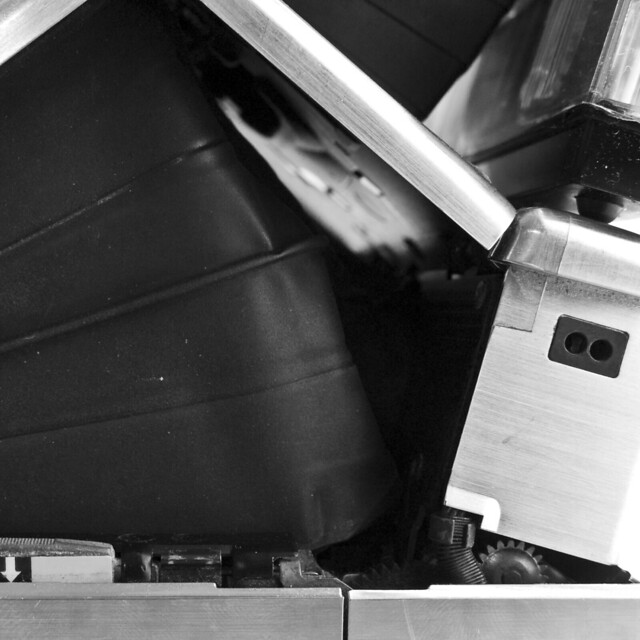
model 1 and model 3 – notice the viewfinder of the scale focus model 3
The folding aspect may seem like a gimmick at first, but much like simpler folding rangefinder designs, it really is a worthwhile space-saving design. The folded up package feels sturdy, and slips easily into a bag (likely into large cargo pockets for those who are so inclined), or hangs nicely around the neck if you’re lucky enough to score an Alpha 1. Small packages are nothing notable – if you want a tiny camera, get an Olympus XA, or go all out and grab a Minox III! But to get medium format prints out of something so portable is definitely a convenience, and while the folding mechanism could have been a horrible, tacked on design, it is not, and works very well in practice.
Finally, unlike most later Polaroids, the SX-70 is actually an SLR (note that the Model 3 is the exception). Excepting very early versions, these SLRs even have horizontal split-image rangefinders to assist with focus. This is useful, because the maximum aperture diameter (f/8) is larger than, and the closest focus (~10″) is closer than any Polaroid to follow. With few exceptions (Pronto! Rangefinder and Captiva SLR come to mind), future Polaroid models are either hyperfocal/focus free designs, or rely on the user to scale focus. Being an SLR also means that there are attachment optics available for telephoto and close-up work, and since the photographer can see through them, these are actually useful.
Using an SX-70 has its ups and downs. Again, it’s manual focus, which is a plus for most creative photographers (even the later AF models have manual focus override). Focus is a convenient wheel over the shutter button, which is smooth and pleasant to operate. The shutter release itself is a soft-touch rubber button, which while lacking the satisfying clunk of an old mechanical release, does have a reassuring resistance and a good (albeit unique) feel. Where the camera is lacking to the creative photographer is in exposure control. The SX-70 follows another trend of the time – program line exposure mode. Unfortunately, the SX-70 offers only program mode, with no ability for the photographer to choose shutter speed or aperture. Even worse, the photographer also has no indication of what shutter speed/aperture the camera is wont to use. Limited control for backlight compensation, &c., is afforded via a knob to the left (from the user’s perspective), though not labeled in EV. This compensation knob automatically resets to ±0EV when the camera is folded. Metering is decently accurate (they were apparently ‘calibrated’ at the factory by dropping different levels of ND in front of the meter cell), but is not TTL.

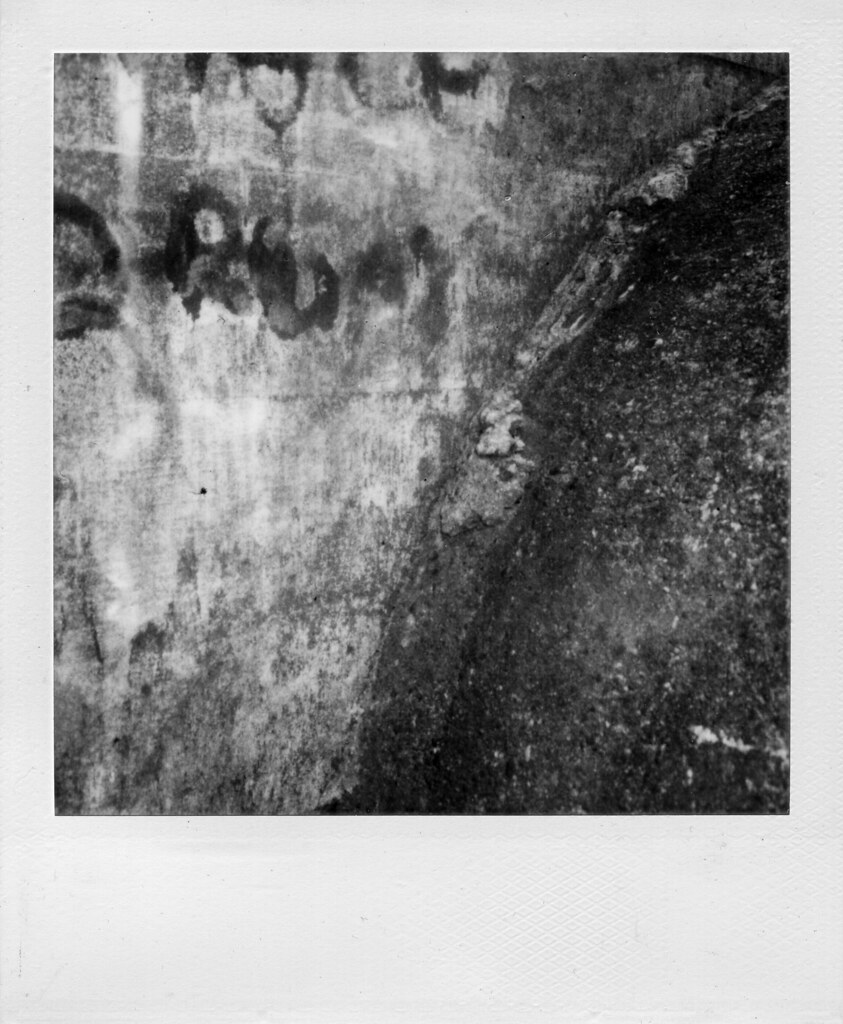
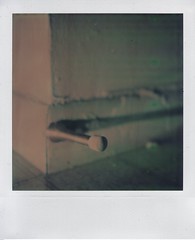
hydrant, old impossible fade to black
In the end, once you have an SX-70, you want to carry it around. Maybe not every day, maybe not most days, but every once in a while you buy some film and take it out, and it’s still just as charming as it was in 1972. You get used to the decisions it makes, you get used to the quirks of whatever film is being offered at the time, and though it may not be quite like any other camera you own, you love it. You don’t learn to love it, you love it right away, and you love it always. The SX-70 was a brilliant, ground-breaking design on the day Land first showed it off, and it’s still unlike anything else you’re bound to have in your collection. An expensive hobby, yes – the cameras are collectible (though not particularly rare), and the film is pricy, limited production stock made by a small company. But again, there is really nothing quite like shooting one.
Fade to Black
Note: this article originally appeared on http://brhefele.brainaxle.com. Irregular formatting is due to stylesheet changes, and may eventually be corrected.
Remember when Polaroid stopped making Time Zero, and then they stopped making instant film altogether? And all of our SX-70s and Daylabs became useless? And then remember when some people undertook the impossible project of buying up a Polaroid factory and all the equipment, with the promise of making new film, calling it ‘The Impossible Project?‘ Well if you don’t remember, now you’re up to speed on what this is all about.
If I’m not mistaken, there have been two phases to The Impossible Project. The first was using old genuine Polaroid chemicals to make new films. The second, which just recently launched, uses new (for Polaroid at least) chemistries, resulting in Polaroids as we’ve never seen before. I recently burned through the last remaining Time Zero that I had, and decided to order two packs of Fade To Black, one of the films out of the first phase. I have today shot my first shot using this film. All of the following photos link to their respective flickr pages…
 Fade To Black uses a curious chemistry which keeps on developing until, in about 24 hours, the whole frame has developed itself to total blackness. Unless the photographer intervenes! Seen here is the final product of my first shot – nothing more will happen to this photo. The manual gives two methods of intervention – dry & wet. The key is basically just getting the film the hell away from the chemicals. I chose to use the wet method – peeling the film off of the backing, washing all the nasties away, and ending up with a positive image on film.
 Seen here was the first moment when I looked at the film and thought, ‘aha! I have one complete version of a photo.’ But of course it’s never that easy, deciding when to terminate something which is constantly changing. So I kept the scalpel away, and scanned the image, then got back to watching. You can see that at this point, which was just a couple of minutes into developing, the end result (still on the backing foil) is pretty similar to how the final positive appears on a white back. It has enough dynamic range that you can really start to feel what’s white, what’s shadowy, and colors are tending toward cool, blues.
 After a few minutes, my image was much darker already, and the colors had shifted rather dramatically as well. Highlights were warm, reddish, while shadows remained cool, tending almost toward green now. I think this may have been my favorite iteration of the three – the shadows were nice and deep, and although the highlights were a bit too dim, the cross-processed look to the colors made up for it. I gave it a couple more minutes before pulling out the scalpel and gutting the sheet. This was tricky, and messy, but it would have been far worse. Washing it was not bad, but drying was also tricky, as I’m not really set up to dry any sort of film anymore! I ended up hanging the wet film from my shower curtain rod using a jury-rigged paperclip/binder clip contraption.
All in all, I think my first experiment with Fade To Black was a success, and I look forward to my remaining 15 experiments. I plan to try pushing the exposure wheel over to white, and using a Flashbar to get some very strong highlights in the near future. I feel like I have a better understanding of the time involved with the film, the color characteristics, and the variation between the film sitting on its backing, and the bare film. I have to give Impossible Project the utmost respect for the work they’ve done thusfar, and I look forward to getting in on some of their new Polaroid packs as well (particularly, PX100).
