The Everyday Barnack

the leica IIIf, seen w/ summitar 50/2, leitz orange filter for summitar, and orako rf contrast filter.
I’ve been regularly rotating through three cameras for my daily walks through DC the past few weeks – in medium format, a Fujifilm GF670 (review forthcoming); and in 135, a Leitz/Minolta CL with MS Optical Perar Super Triplet 35/3.5; and a Leica IIIf BD with Summitar 50/2. The first one is a very modern folding MF rangefinder with an accurate meter and (optional) aperture priority operation. The second is an older rangefinder, with a meter that is likely to be (in my case, guaranteed to be) broken. But, the CL is still modern enough that anyone used to using a rangefinder or SLR (provided they understand RF focusing) from the 60s or newer would be able to operate it without confusion. But as a day-to-day carry, the third camera, the Leica IIIf, is an odd duck indeed.
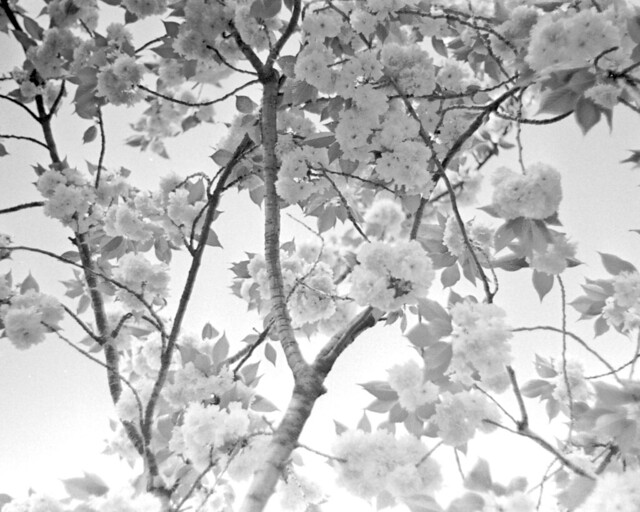
‘blossoms,’ a photo shot for a friend in the district.
The Leica IIIf has two shutter speed dials, neither of which uses the standard speeds of today. It has a film counter that must be reset manually after swapping out rolls. Its rangefinder is not integrated in its viewfinder, so one focuses and frames through two different windows. Framing lacks parallax correction. Framing is only useful for 50mm lenses without the use of an auxiliary finder. Advancing and rewinding are both done with knobs, not levers. Everything on the top deck is intricately connected – the shutter speed dial spins as the shutter releases, and if you get in its way, your exposure is off. There are no fewer than six arrows on the top deck, guiding you through its use. There is no door for loading, rather the bottom plate pops off and you delicately slide your film (with extra leader cut out ahead of time, and attached to a removable take-up reel) through a thin slit. This is one of the latest of the Barnack style Leicas, cameras that revolutionized photography.
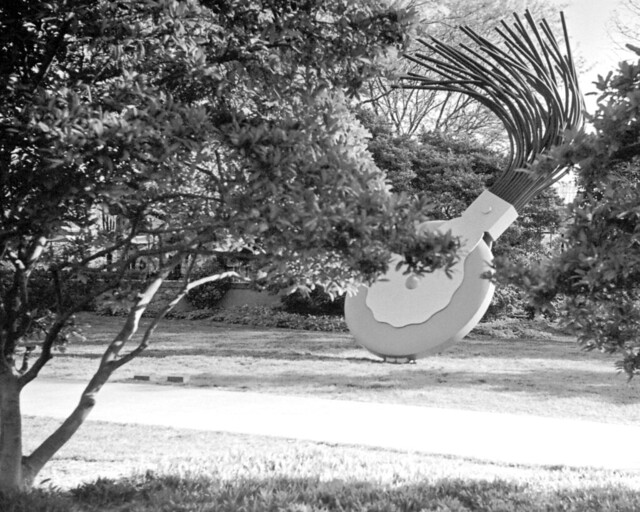
from the national gallery sculpture garden, dc.
Mine was made in 1951, my Summitar lens in 1950. Its body is in great condition (for a user, not necessarily a collector), and its internals have recently been overhauled. So in using it, had the technology behind and ergonomics of cameras not changed significantly over the course of 60 years, one wouldn’t really know the difference. But of course, the reality is that cameras have changed significantly. We now only have one shutter speed dial that doesn’t rotate on its own accord, and follows geometric progressions rather than 1000, 500, 200, 100, 60, 40. We now view tons of information through one single, large, bright viewfinder. We now don’t have to cut our own film leaders or else risk getting shards of film stuck in inaccessible, fragile bits of our camera bodies. So how practical is it, really, to use a 1951 Barnack style Leica as a day-to-day user in 2012?
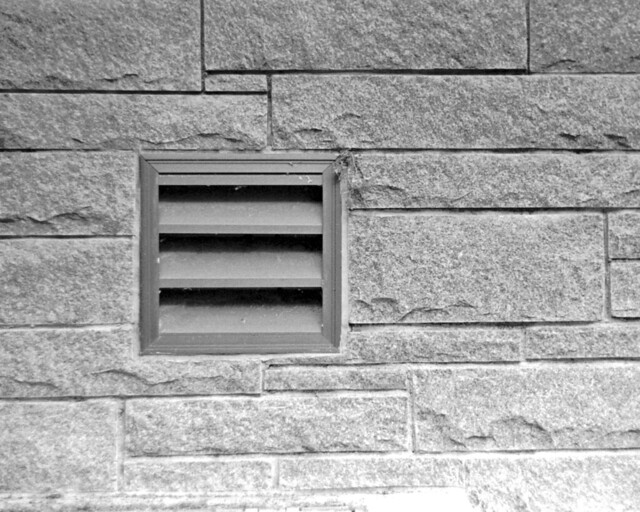
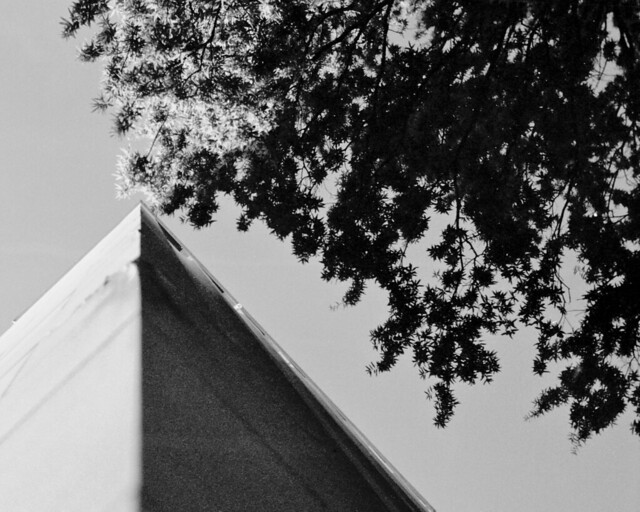
many rectangles.
Many people would argue ‘not very,’ or, ‘are you out of your mind,’ yet demand is still high for Barnacks, and not just from collectors. One of the more infamous internet photo writers describes operating the IIIf as requiring twice as much time to make settings, frustrating the company you’re with. This, to me, is absurd. At the heart of operation, you’re still just setting a shutter speed and aperture, and then focusing. If you’re handholding the camera, you’re probably never going to touch the front (slow) shutter speed dial, so the majority of the time, setting the shutter speed is just as on a more modern body. Focusing and composing requires two windows, but unless you’re leaving your subject centered, the single-window approach really isn’t a major advantage for most shooting. The two windows are right next to one another, unlike older Barnacks, making the transition from focus to framing (or vice versa) quick. One thing that has the potential to slow focusing down is the fact that the rangefinder itself needs to be focused for the most precision. Yet this is a quick throw, and only really needs adjustment for considerable changes in focus range – it’s not a time sink.
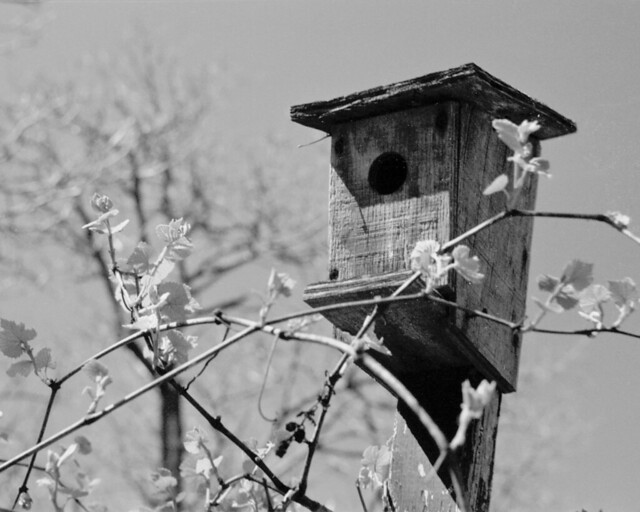
‘for the birds,’ shot at a friend’s house.
Still, a Leica M (M2, naturally) with an adaptor, or something like a Canon P is going to be a far less daunting machine to tame. The IIIf still has issues that will slow the photographer down while she’s not actually shooting, such as the loading process, insane by today’s standards. So why even bother with a Barnack? Well, to start, they’re small. Really small. Small presents itself in different ways – a Leitz/Minolta CL is much shorter lengthwise, but taller. But any way you look at it, a Barnack is really rather small. Small often means light, and often leads to sacrifices in build quality. Barnacks are light, but again, not as light as, say, a CL. A very comfortable and well-balanced weight though, unlike pretty much any SLR ever made. Yet, a Barnack feels incredibly solid, as though no structural compromises were made.
the robert a. taft memorial carillon in dc.
So to me, the IIIf is a great day-to-day user camera. It feels nice in the hand, operates quickly when you’re actually shooting it, and has a wonderful 1.5x rangefinder. Other Barnack style Leicas or clones will handle similarly, but as far as a genuine Leica is concerned, the IIIf was the most popular Barnack, and is likely the easiest to get as a user. The IIIg is the object of my lust, with geometric shutter speeds and 90mm framelines in the finder – paired with a Voigtlander 28/35 minifinder, this would be a very versatile body. But, these were made and sold alongside the far more sophisticated M3, and are now considerably more collectible (read: expensive) than IIIfs. Canon’s Barnack clones are interesting in that they have wedded view/rangefinder windows like more modern cameras, if that’s a major issue.
Moersch Easylith as Film Developer
 ilford panf+ developed in moersch easylith paper developer.
For as long as I’ve been interested in photography, I’ve been particularly interested in the aesthetics of high-contrast photography. We were supposed to shoot 400TX in high school, I shot D3200 and made contact prints off of contact prints on the highest graded contrast paper I could find. Now, I find even 400TX to be too fast for my daily pursuits, and I work a hybrid system – developing film, but going digital for post-processing and printing. Digital contrast curves are designed to not be too harsh, but still don’t quite compare to grabbing that contrast in a chemical reaction. So, recently, I decided to try an experiment using lith developer designed for paper on film.
The lith process is a high-contrast process used in the graphics world, for line art and document copy type work. It is a process done in the print stage, using special lith developer, and generally working off of a prepared contact-printed large format lith negative. Lith developers can be rather complicated, coming in as many as five-part systems. Carefully choosing your ratios can dramatically change the end result, which allows for a lot of creative control, but also introduces a lot of room for failure. Moersch makes a two-part lith developer designed to take a lot of the guesswork out of the process, called Easylith. Since these developers are not designed for standard negative film, a lot of guesswork was already going to be involved, so for my experiment, I thought Easylith would be a good start. It’s also rather affordable – $14 at Freestyle Photo works out to just over a dollar a roll at the ratio I’m working in, as a one-shot. And that’s for the smallest (most expensive by volume) set of bottles available.
 my first roll was extremely underdeveloped/underexposed.
With no guidance from the internet, my first roll was a failure. Negatives were incredibly thin, and when I was able to pull out an image,there was no major pop in contrast. I shot at box speed, used 5cc each of part A and B Easylith, developed at 25c for 10 minutes, agitating vigorously every 20 seconds. When developing paper in Easylith, one is recommended to extend development times, and agitate thoroughly, something I attempted to replicate on the film side. One shot that I had overzealously bracketed came out with decent density, and showed me that I was on the right track, I just needed to go harder. I shot my second roll at a 2 stop (give or take) pull, and used 8cc each of part A and B Easylith, agitating every 15 seconds. These negatives were very dense, and many of them very usable, yielding just the results I had hoped for.
The ‘give or take’ on my 2 stop pull is an important detail. The meter on the Pentax MX only goes down to EI/ISO 20. I was shooting PanF+, rated at 50, which is about a 1.5 stop pull when shot at EI 20. I compensated manually, but in several cases, had a gut instinct to pull even further, and so I compensated even further. My gut instinct was generally wrong, and many of my negatives were impossibly dense. For the sake of experimentation, this is good. I now know to meter for about a 2 stop pull, and trust that I’ll get an image, even if it doesn’t necessarily have the characteristics that I want.
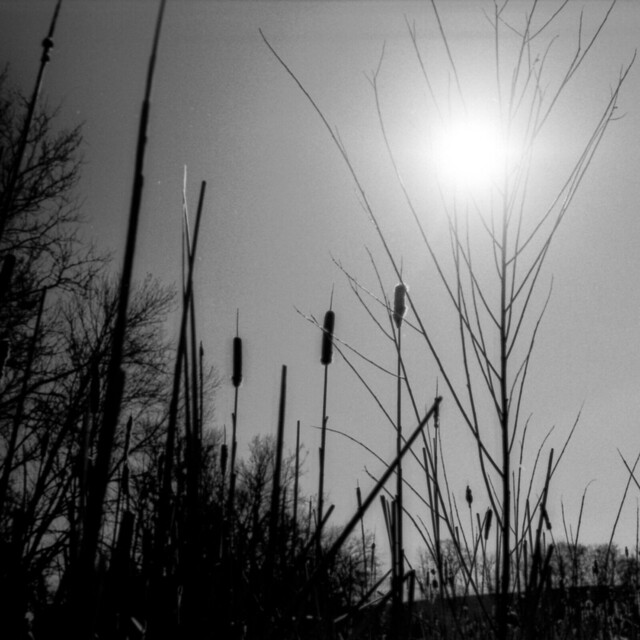
 contrasty scenes like this backlit playground equipment really bring out the developer’s properties.
So, how then, to encourage that unreal contrast that I so desire? Well, shooting PanF+ was a smart choice, being a relatively contrasty film to begin with. Any of the stranger document films that Adox, Agfa, Rollei, &c. put out should give even stronger results. Shooting contrasty scenes, and in contrasty light certainly helps as well. In scanning, my hardware and software blasted such strong light through the negatives, and tried so hard to make them ‘normal,’ that tweaks were necessary in post-processing to bring back the contrast that shines through so brilliantly on the negatives themselves. Finally, I will continue to tweak the process, based on the effects that such tweaks would have if I were doing a normal lith process. This means messing with agitation (which encourages development of highlights), ratio of dev:water, and ratio of a:b. So far, I’m very happy with my results, and it’s only taken me one wasted roll. If anyone out there tries this process, I’d love to hear/see the results, so drop me a line here or on flickr.
 easily my favorite shot off of roll two.
Pentax Super Program
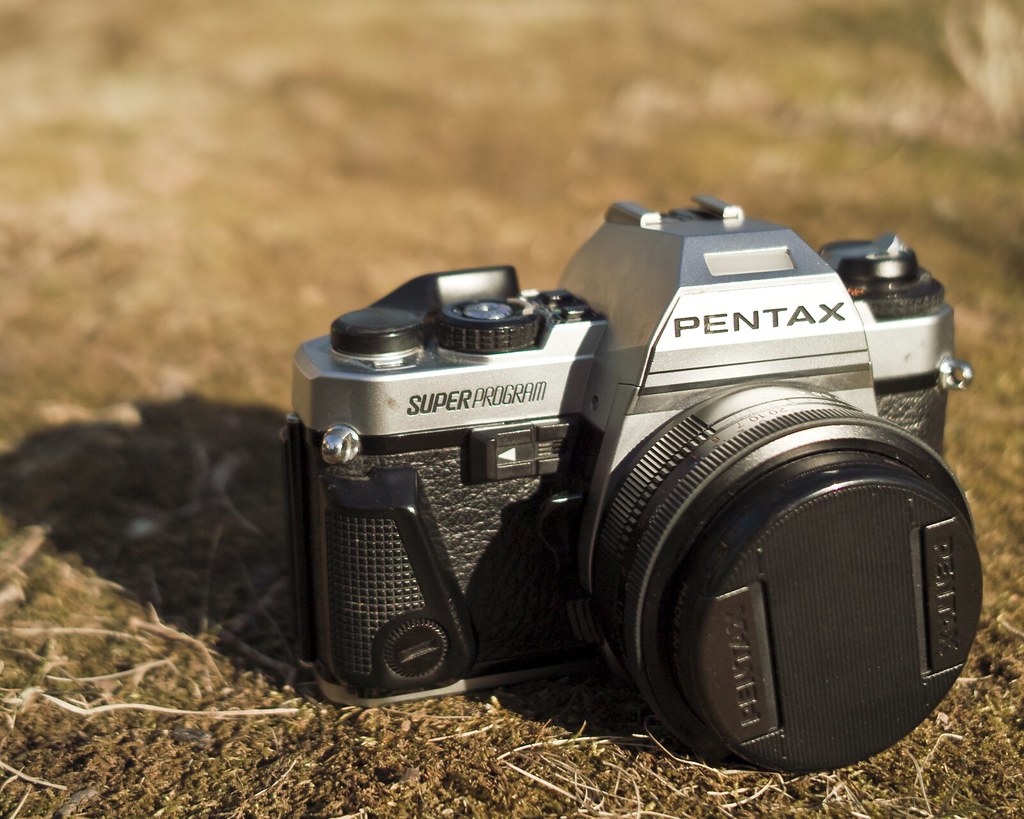
Recently, in replacing my beloved Pentax MX, I also happened upon a Pentax Super Program. Some might disagree, but I would consider the Super Program to be the last classic camera Pentax ever made. It’s not the last manual focus body they ever made, nor even the last manual advance. But it’s the last with a classic look, a classic heft, and relatively few/simple settings. It’s not a ‘pro’ body by many definitions – indeed, at the time it was released, a fully electronic shutter with no mechanical fallback was a dangerous proposition. But it does have four exposure modes, a solid meter, decent finder readout, and features that creatives yearn for, like DOF preview.
A fully electronic camera with a wealth of automatic modes is not typically what I look for in a camera. Primarily, I shoot fully manual bodies, only because these tend to be tough, fully mechanical bodies as well. In reality, shooting manual based on your camera’s meter is no different than shooting Av or Tv (assuming you have adequate compensation), or Program (assuming you have program shifting). I don’t have a snobbish ‘artists only shoot M’ opposition to automatic cameras, I just don’t own many and therefore don’t use them often. This is all to say that the Pentax Super Program is not really ‘my type’ of camera — and I was shocked at how much I love shooting it.
 the main control knob, buttons for changing shutter speed, and shutter speed readout lcd.
My ideal interface to a fully automated camera is a normal shutter speed dial, with the addition of an Auto setting, and exposure compensation right on the dial. My least ideal interface is the PASM dial, with actual settings moved to the background, and likely a handful of extra silly program modes tacked on the knob. The Super Program is somewhere in between. It has a main control knob with Auto and Manual settings — these dictate the shutter operation only. Setting a manual aperture on the lens, or setting the lens to its ‘A’ setting dictates how the aperture operates. So, for fully manual, pick an aperture and a shutter speed (main dial on ‘M’); for aperture priority, pick an aperture and set the main dial to Auto; for shutter priority, pick a shutter speed (main dial on ‘M’) and set the lens to ‘A;’ and for Program mode, set both the lens to ‘A’ and the main control dial to Auto.
The main control dial also has dedicated settings for 125 (TTL flash sync speed), bulb, and shutter lock. Next to the knob are two buttons, used for adjusting the shutter speed in ‘M’ mode. Ask someone if they think you should get a Super Program (or, an older ME Super), and this button interface and lack of a proper knob will inevitably come up. It’s definitely different, and I’m certainly more used to a knob. But, in practice, shutter speeds can be changed quite rapidly with the button interface, and it’s really very usable. The finder has two LCD segments for information. In most modes, one side displays shutter speed and the other aperture. In metered manual mode, however, you lose aperture info for the sake of the meter (±EV readout). If you want to shoot metered manual primarily, you’re better off with an MX — more finder info, and the LED meter is more immediately recognizable.
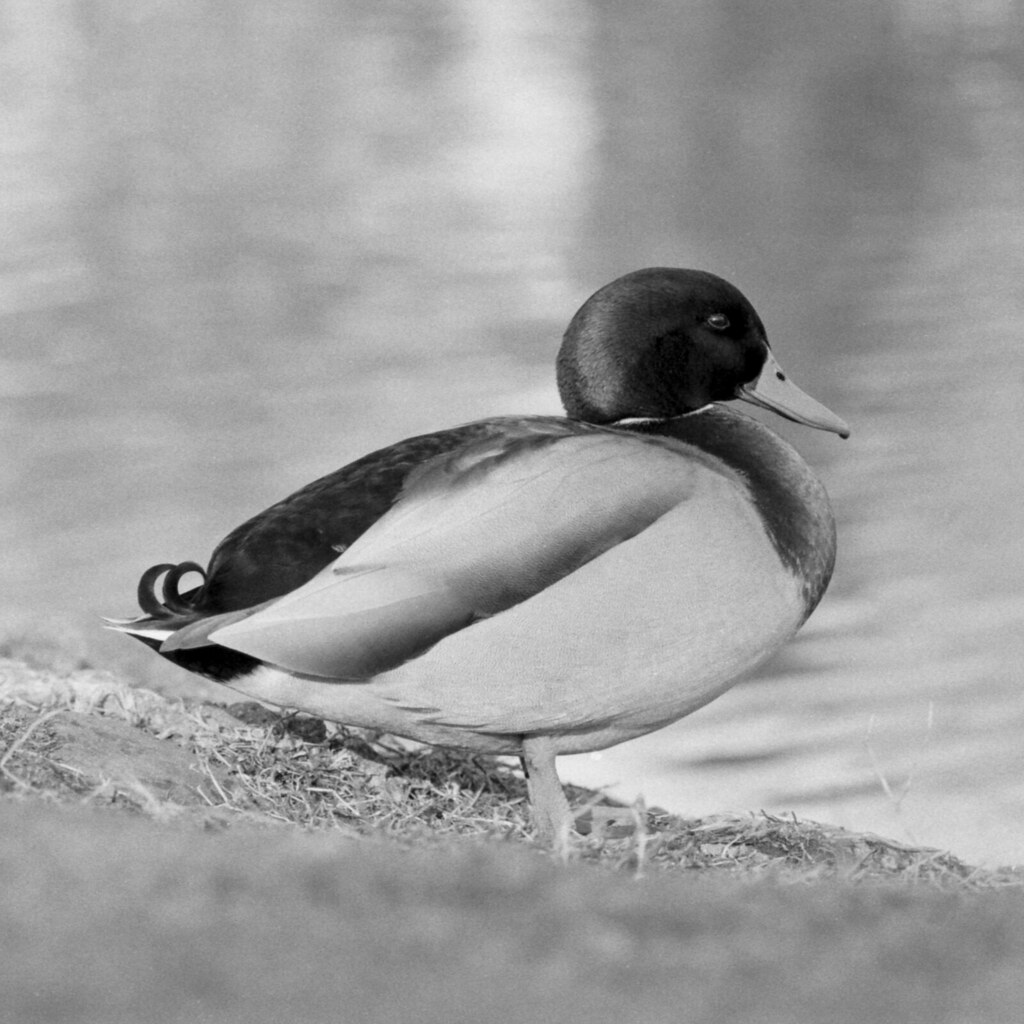 duck, shot in aperture priority mode with a rikenon 135/2.8 on the pentax super program.
The half-press switch that activates the meter is incredibly flaky on my example. While this is inconvenient, fortunately if the meter is not already on, the camera does meter right before the shot is taken as well. This means that even if I can’t get a readout beforehand, I will get a properly exposed shot if I’m in an automatic mode. Exposure compensation on the right-hand side is not particularly odd, but I definitely prefer it to be built into the main shutter dial. The camera is not particularly small, being somewhere in between a K-series and an M-series. Film loading is convenient, using the Magic Needles take-up spool. While the camera feels overall very sturdy, the film advance is incredibly cheap and plasticky feeling. The electronic shutter (15″ to 1/2000″) makes a beautiful noise when fired. There is a backlight for the finder display, but it’s a bulb, and consumes an enormous amount of power from the 2 SR76 cells.
All in all, the Super Program is a really fun, easy to use body. I still prefer my MX, but I have no qualms about grabbing for the Super Program. I’ll probably have it cleaned up at some point to get the switches working (not just the half-press switch — my backlight switch isn’t the greatest, and the self-timer switch barely works). But even with incredibly flaky switches, the camera is very usable. I probably won’t bring it out on many night shoots — long bulb exposures will likely take a toll on the batteries. But it’s a great camera to have around, especially for the relatively low prices they demand.